PythonのフレームワークであるDjangoの開発環境を作りサンプル画面を表示するところまで実施します。windowsでの作業です。
Pythonをインストール
Pythonのインストーラを取得
インストールできたかをコマンドプロンプトで「python」コマンドを入力し確認。確認後「exit()」コマンドで終了できます。
>python
Python 3.7.3 (v3.7.3:ef4ec6ed12, Mar 25 2019, 22:22:05) [MSC v.1916 64 bit (AMD64)] on win32
Type "help", "copyright", "credits" or "license" for more information.
Pythonの仮想環境を作る
Pythonは開発単位で仮想環境を構築できます。PythonやDjangoのモジュールは各仮想環境毎に存在するため仮想環境同士の影響をうけません。
作成するフォルダ配下で以下のコマンドを実行します。
>python -m venv [仮想環境名]注意:以下のエラーになる場合
Error: Command '[[指定パス]\\dev\\Scripts\\python.exe', '-Im', 'ensurepip', '--upgrade', '--default-pip']' returned non-zero exit status 101仮想環境に入る
Python仮想環境に入るには、作成した仮想環境ディレクトリにあるScriptsディレクトリ内の「activate」を実行します。
コマンドラインが「(仮想環境名)$」になると仮想環境に入れています。
今回は「Sample」という名前の仮想環境を作成したので下記のような表示になります。
(Sample) C:\python\Sample\Scripts> Djangoをインストール
作成したPython仮想環境に入ってからpipコマンドを実行します。
(Sample) C:\python\Sample\Scripts> pip install DjangoDjangoのバージョンが確認できればインストール完了です。
(Sample) C:\python\Sample\Scripts>python -m django --version
2.2.2
Djangoのプロジェクトとアプリケーションを作成する
作成した仮想環境直下にプロジェクトを作成します。今回は「project」という名前で作ります。
(Sample) C:\python\Sample>django-admin startproject project仮想環境の「manage.py」があるディレクトリでアプリケーション作成コマンドを実施します。 今回は「appl」という名前で作ります。
(Sample) C:\python\Sample\project>python manage.py startapp applPyCharmをインストール
Pythonの開発をするためにPyCharmをインストールします。
https://www.jetbrains.com/ja-jp/pycharm/
ダウンロードページに行くと自動でOSに応じた「DOWNLOAD」ボタンが表示されます。無料版のCommunityエディションで問題ありません。
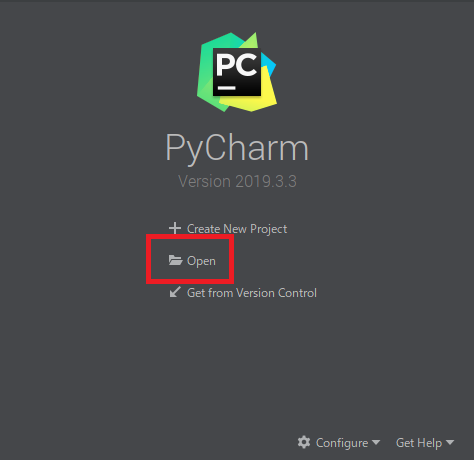
アプリケーションの登録
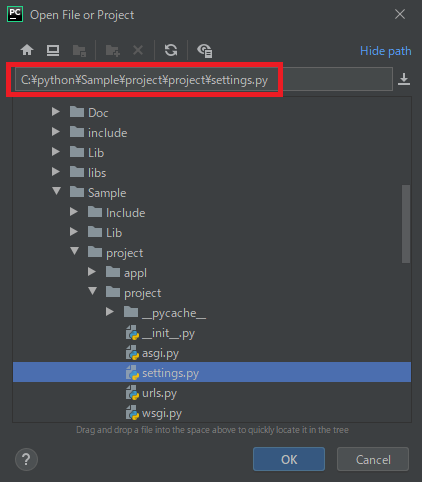
アプリケーションをプロジェクトに登録します。PyCharmを起動しOpenをクリックします。
オープンプロジェクトビューから\Sample\project\project
\settings.py を開きます。
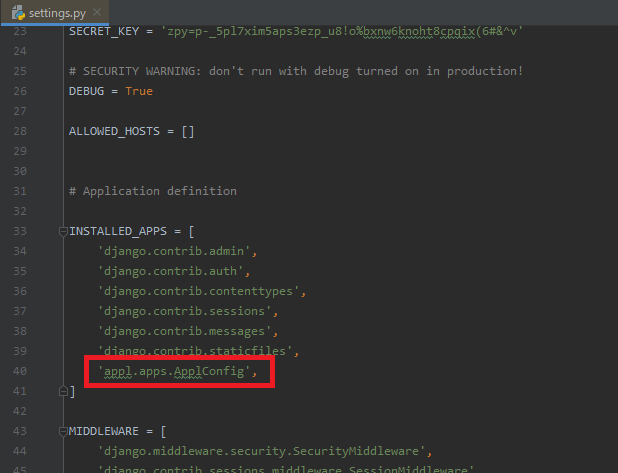
「INSTALLED_APPS」リストに作成したアプリケーションを追加します。applというアプリケーションを作成したので「ApplConfig」を追加します。
Pythonの設定をする
作成したプロジェクトが仮想環境のPythonを使用する様に設定します。
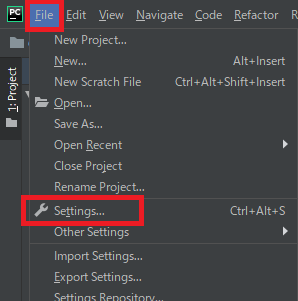
File – Settings をクリックします。
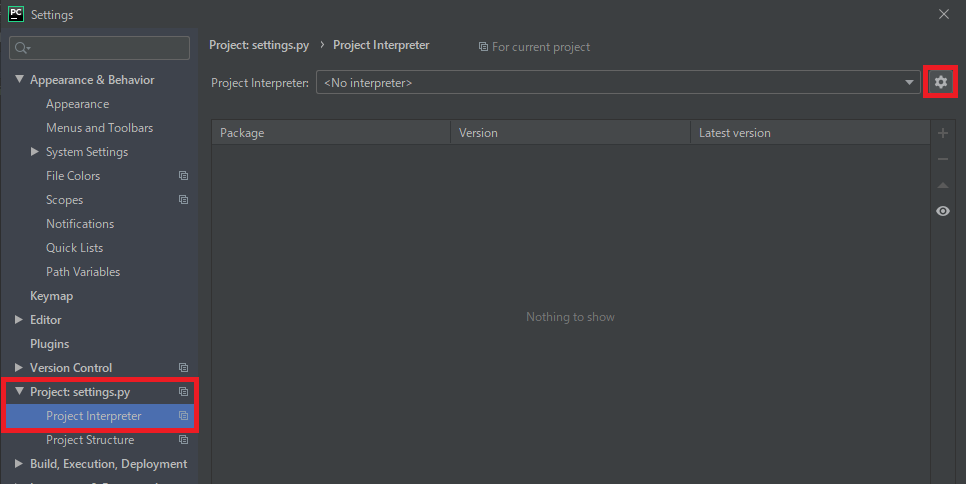
左側のサイドメニューの「Project Interpreter」を選択し右上の歯車アイコンをクリックします。
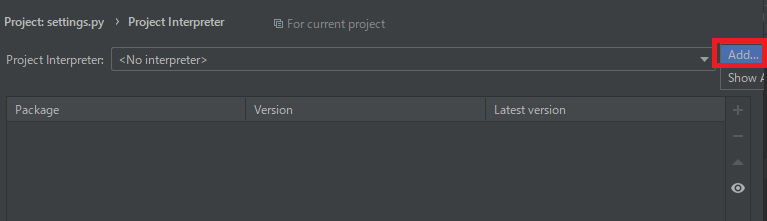
「Add…」をクリックします。
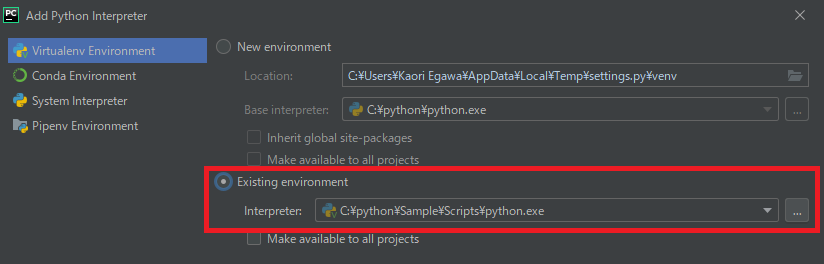
設定画面が開いたら「Existing environment」を選択し「[仮想環境名]/Scripts」ディレクトリにある「python.exe」を選択します。
言語とタイムゾーンの設定
C:\python\Sample\project\project\setting.pyを編集します。
LANGUAGE_CODE = 'ja'

TIME_ZONE = 'Asia/Tokyo'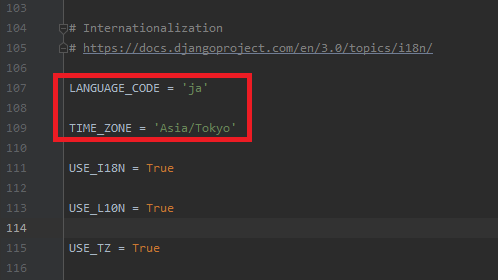
ルーティングの設定
プロジェクトのルーティング設定
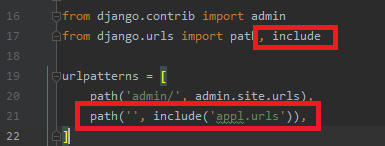
自動作成されているプロジェクトフォルダ配下の「urls.py」を編集します。
C:\python\Sample\project\project\urls.py
from django.contrib import admin
from django.urls import path, include

urlpatterns = [
    path('admin/', admin.site.urls),
    path('', include('appl.urls')),
]
アプリケーションのルーティング設定
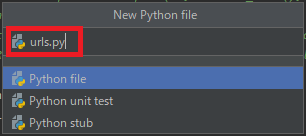
アプリケーションのディレクトリで右クリックから「New – PythonFile」をクリックします。

「urls.py」という名前で作成します。
下記の通り記載します。
from django.urls import path
from . import views

app_name = 'appl'
urlpatterns = [
    path('', views.IndexView.as_view(), name="index"),
]
ビューの作成
C:\python\Sample\project\appl\view.py
下記の通り編集します。
from django.views import generic

class IndexView(generic.TemplateView):
    template_name = "index.html"
テンプレートの作成
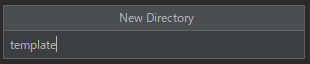
アプリケーションのディレクトリで右クリックから「New – Directory」をクリックします。
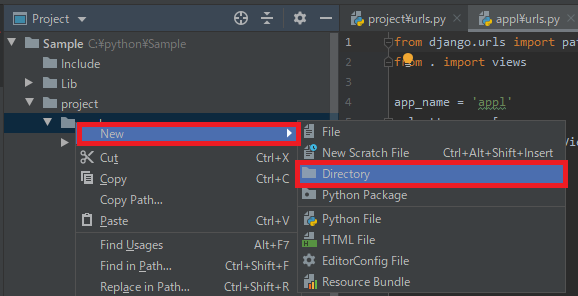
「template」という名前で作成します。
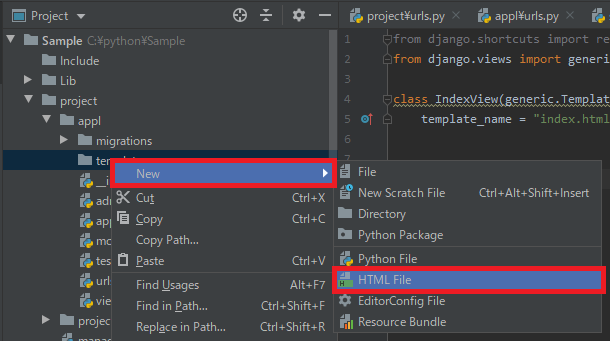
テンプレートディレクトリ配下に「index.html」を作成します。
テンプレート のディレクトリで右クリックから「New – HTML File」をクリックします。
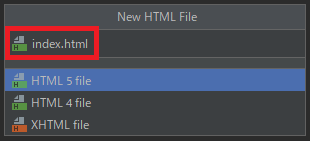
「index.html」という名前で作成します。
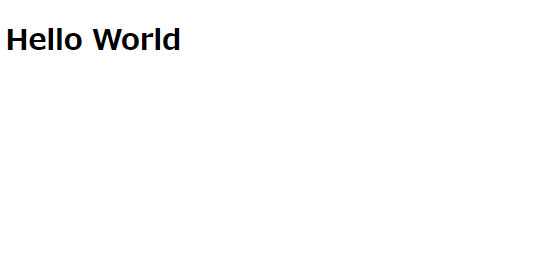
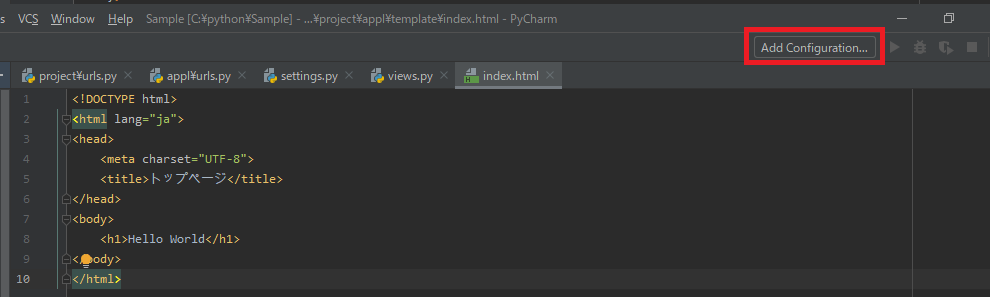
下記の通りHTMLファイルを作成します。
<!DOCTYPE html>
<html lang="ja">
<head>
    <meta charset="UTF-8">
    <title>トップページ</title>
</head>
<body>
    <h1>Hello World</h1>
</body>
</html>
開発サーバーを動かしてトップページを作成する
「Add Confuguration」ボタンをクリックします。
「+ – Python」をクリックします。
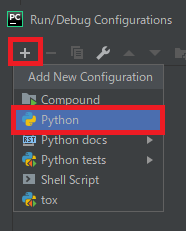
以下の様に入力
Name:runserver
Script path: C:\python\Sample\project\manage.py
Parameters:runserver
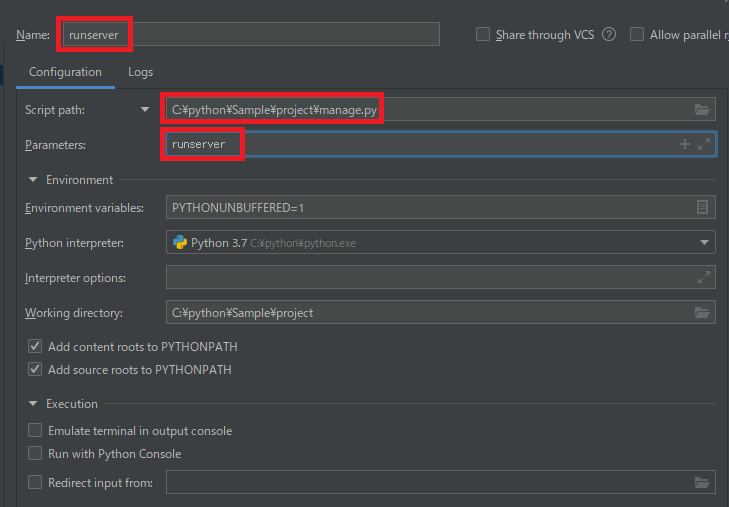
右上の右矢印ボタンでサーバーを起動します。

コンソールに表示されるURLをクリックします。

うまく動けばindex.htmlが表示されます。