IFTTTというサービスを利用し、ブログの更新をLINEで通知する方法を記載します。指定のグループや自分自身に通知するので、知り合いへの連絡やお気に入りのブログの更新を受け取る際に活用出来ます。
IFTTTとLINEを連携する
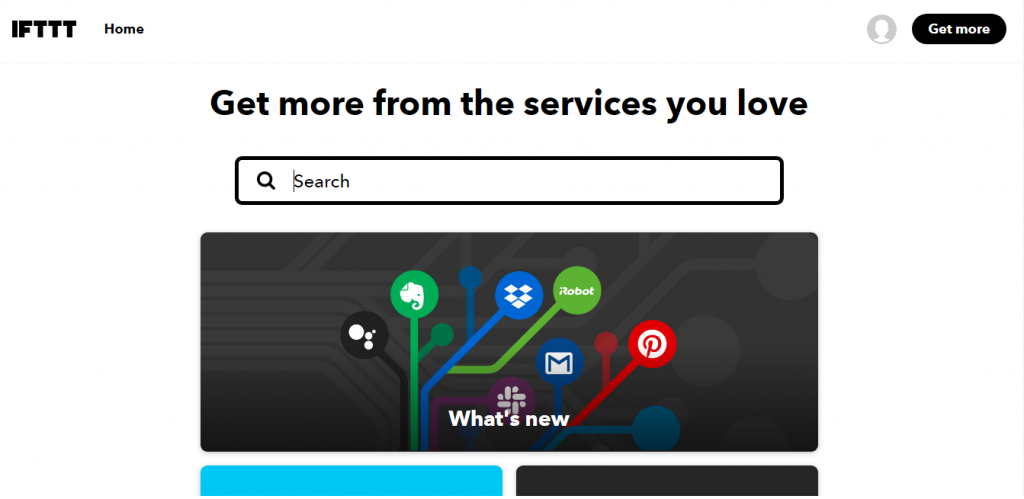
IFTTT(イフトと読むそうです) とは、様々なサービスを連携できる機能です。まずは、登録が必要です。
サイトのURLはこちらです。
また、LINE側でのメールドレスとパスワードの登録が必要なのでやっておきましょう。
メールアドレスとパスワードの登録が完了すると、トップ画面が表示されます。
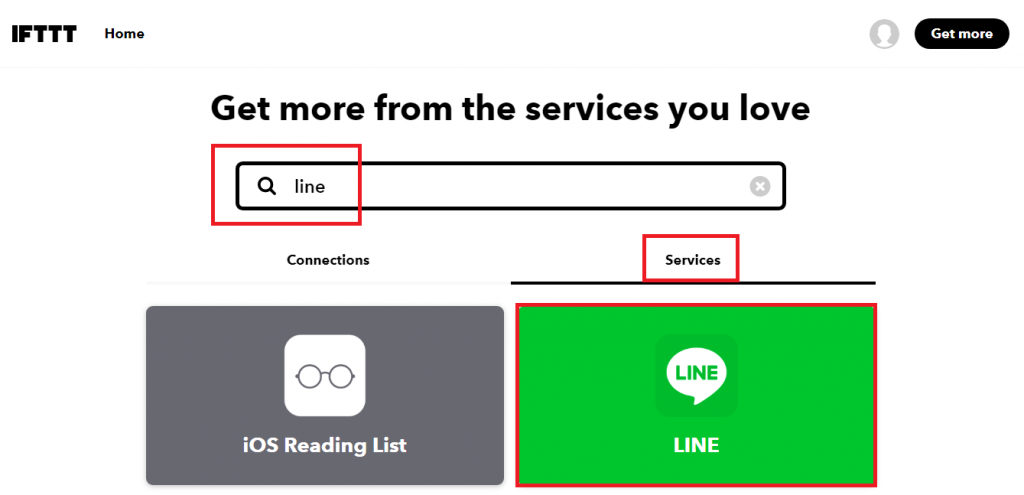
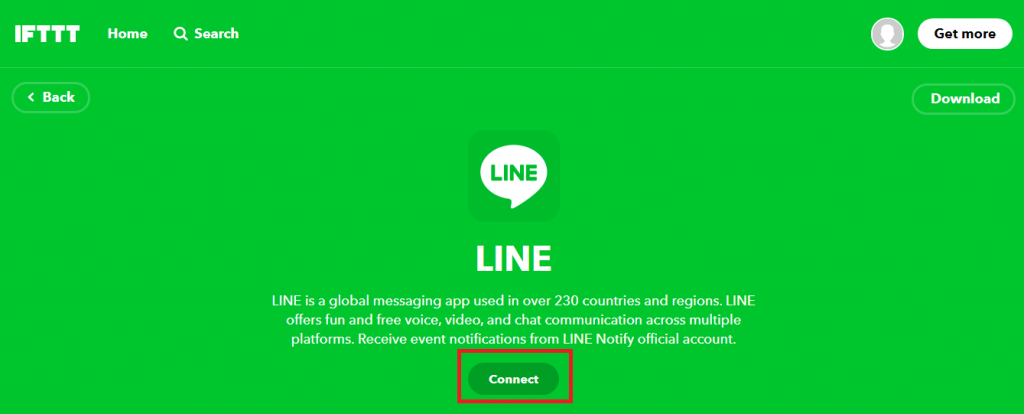
「line」で検索し「Service」タグをクリックするとLINEのサービスが出てきます。
「Connect」をクリックします。
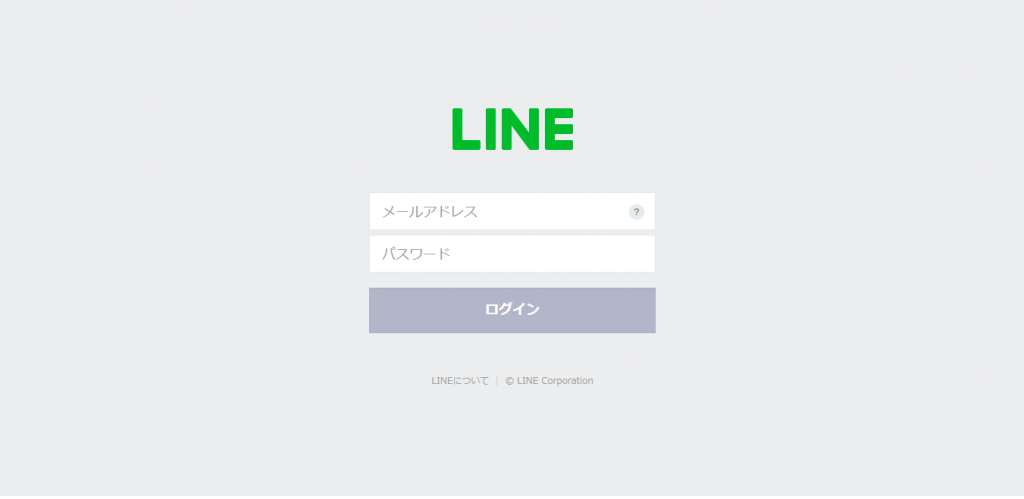
LINEのメールアドレスとパスワード入力する画面になるので、入力をしてログインボタンをクリックします。
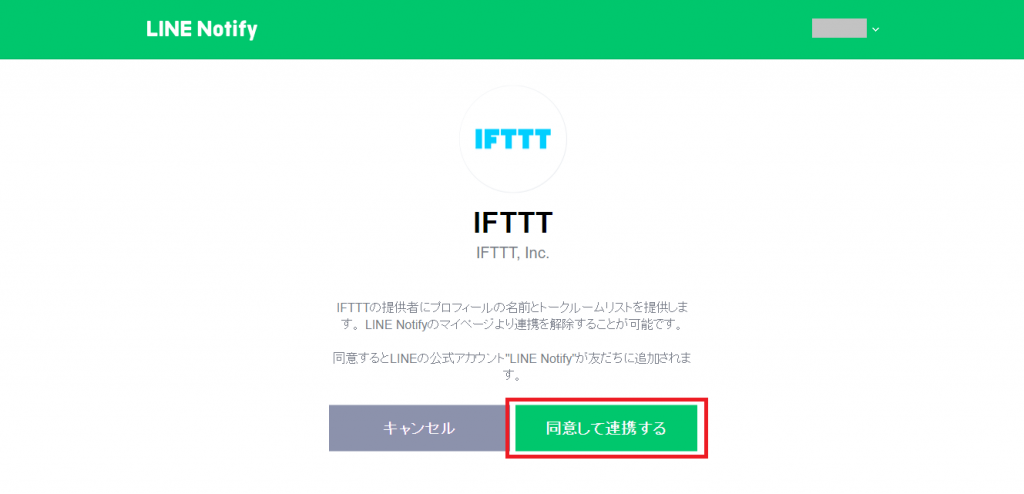
LINE Nofityの確認画面が表示されるので「同意して連携する」をクリックします。
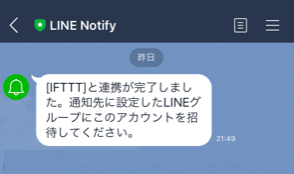
LINE Nofity が友達に追加され、連携が完了したメッセージが表示されれば、連携が完了です。
ブログの更新をLINEで通知する設定
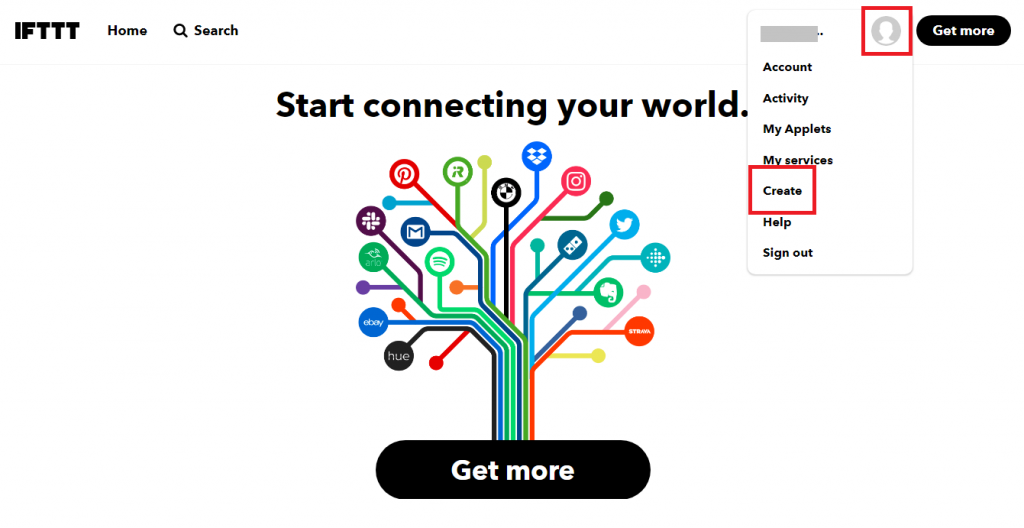
Homeに戻り、右上のアイコンマークから「create」を選択します。
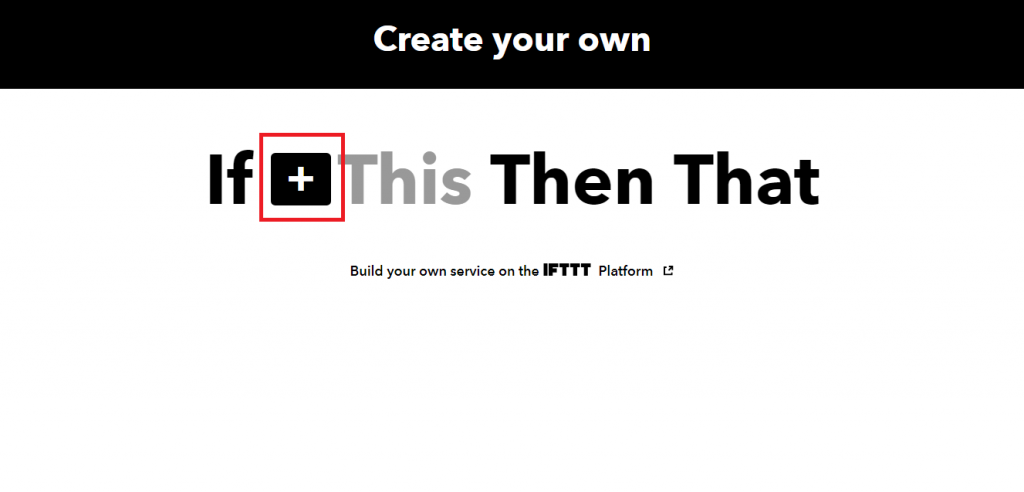
最初にトリガーの設定をします。「+」をクリックします。
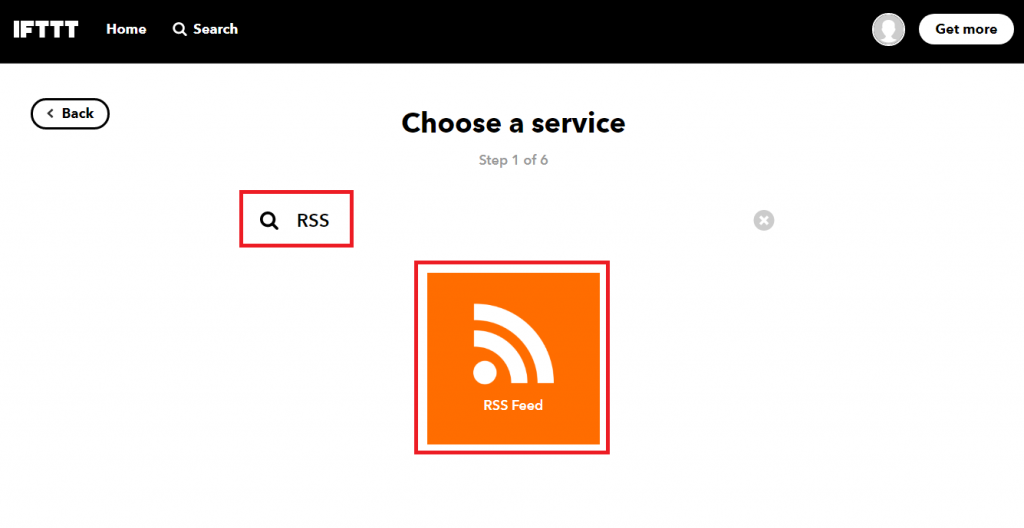
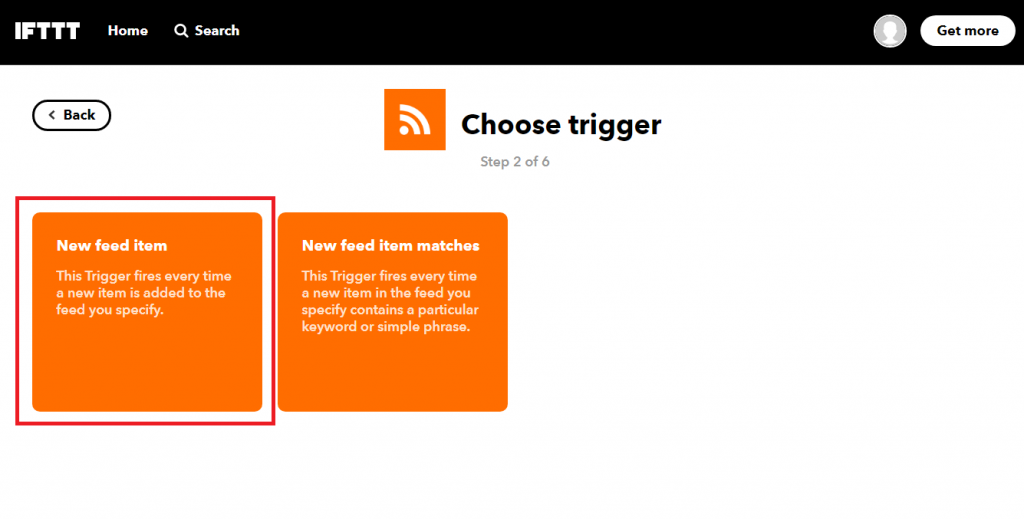
ブログの更新をトリガーとするので、RSSと検索して表示される「RSS Feed」をクリックします。
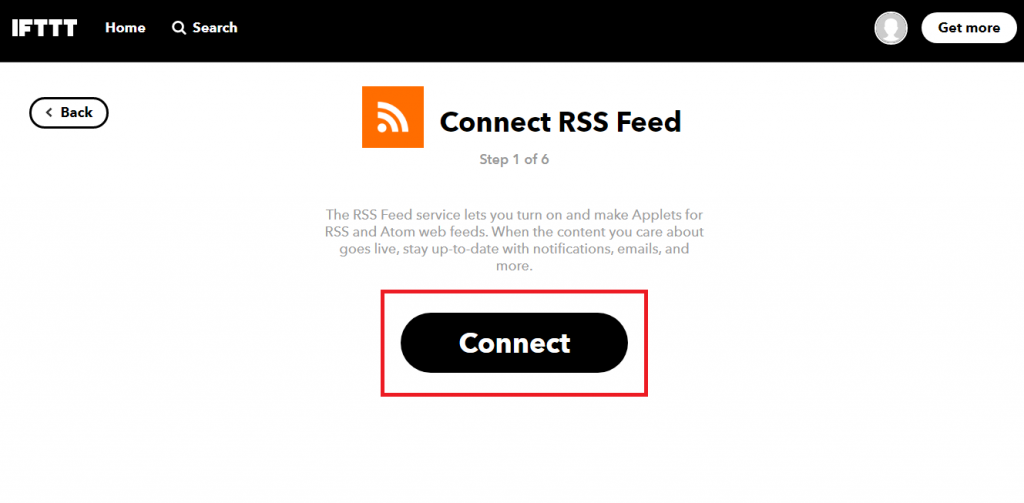
「Connect」をクリックします。
「New feed item」をクリックします。
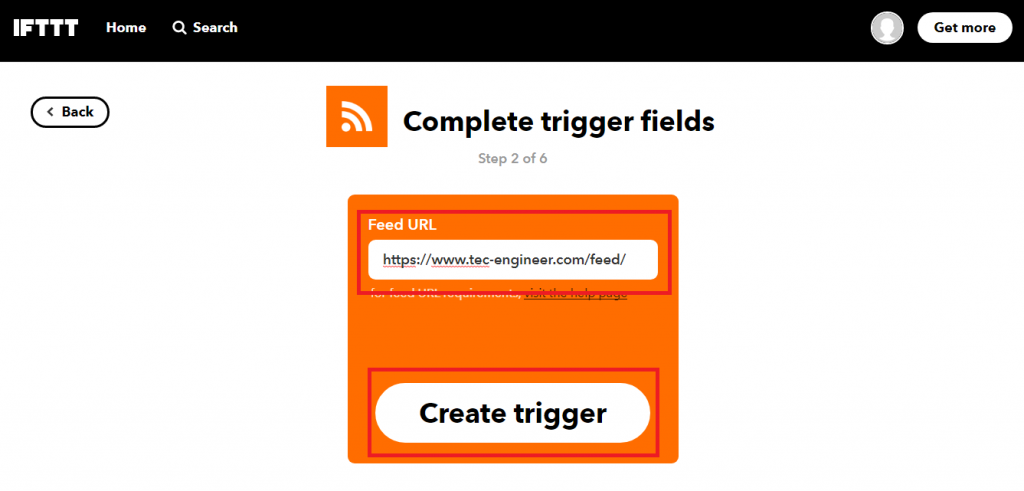
サイトのfeedURLを入力します。当サイトの場合は「
https://www.tec-engineer.com/feed」になります。
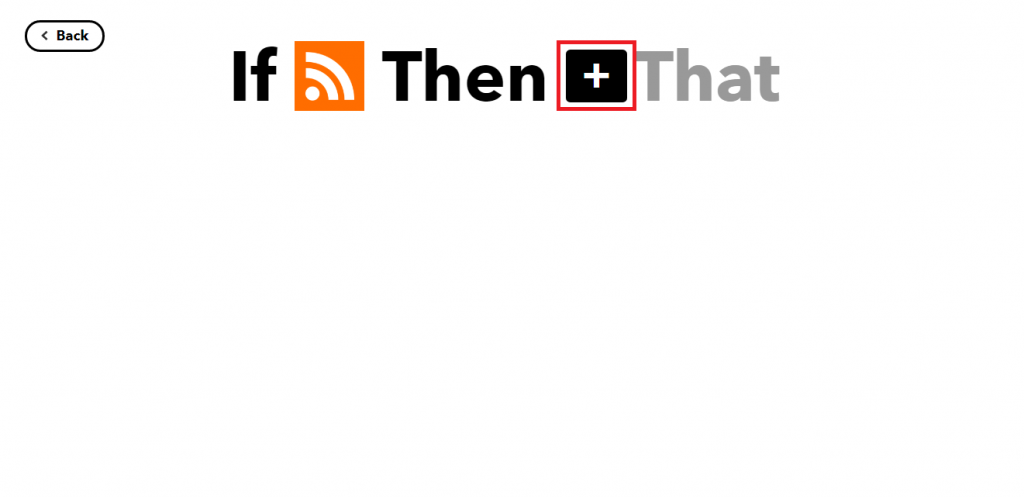
次にトリガーを受けて実行するアクションを設定します。
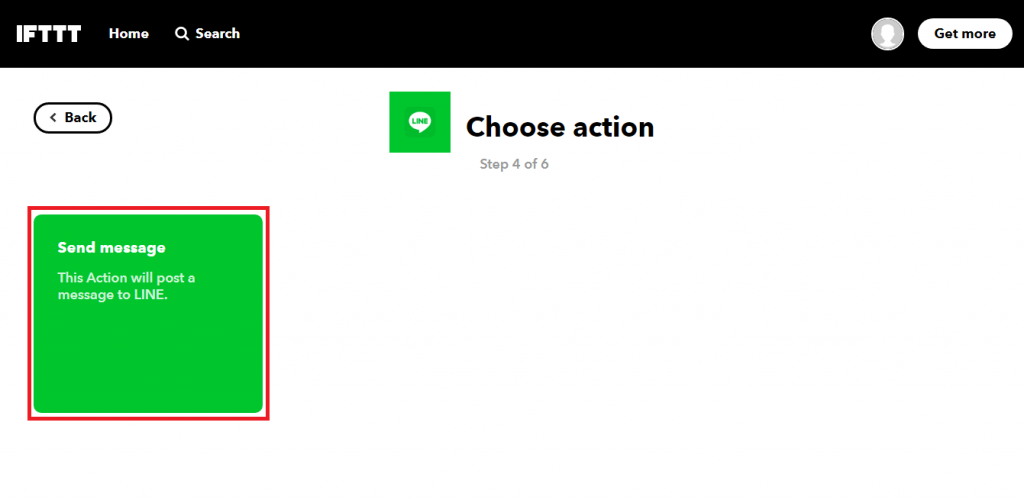
ブログの更新をLINEで通知するので、LINEを検索してクリックします。

「Send message」をクリックします。
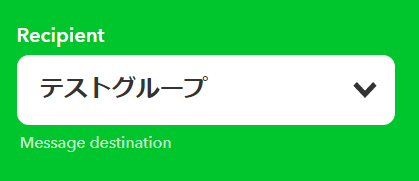
LINEで通知を送るグループやメッセージを設定します。
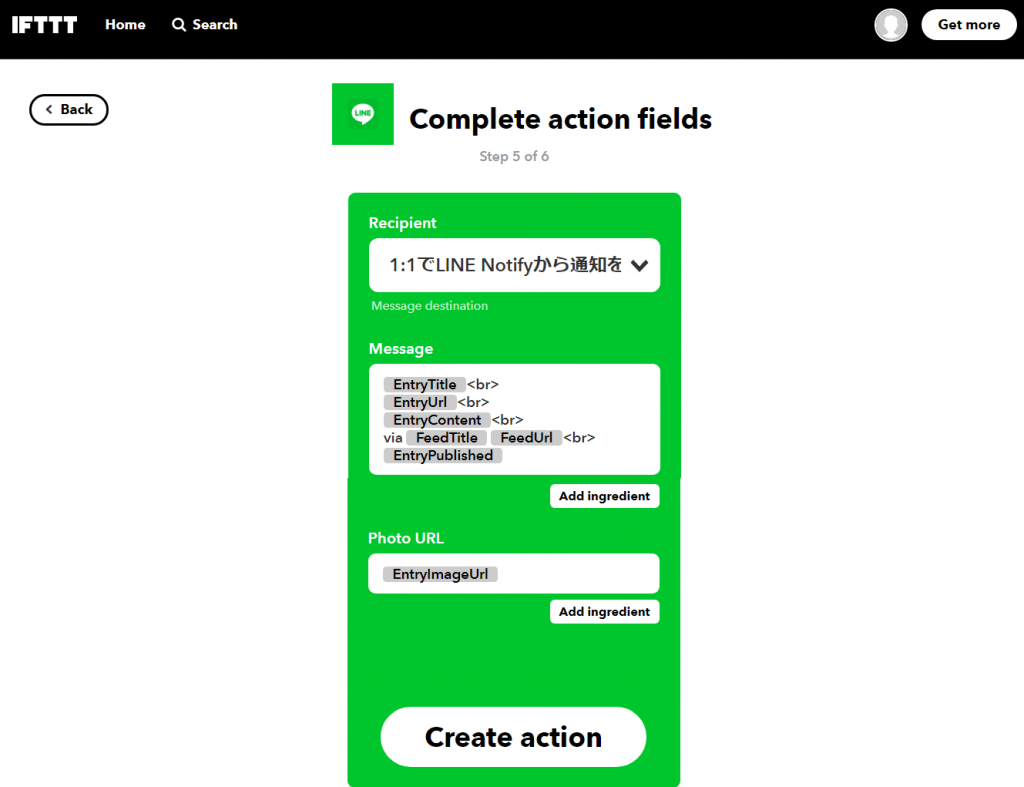
Recipientに通知するグループを指定します。
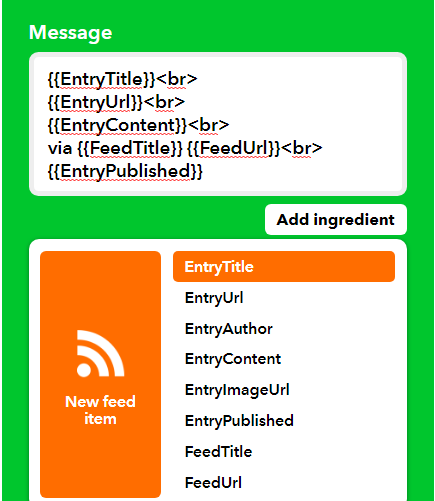
Messageに通知したい内容を設定します。
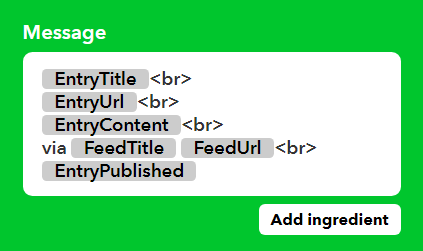
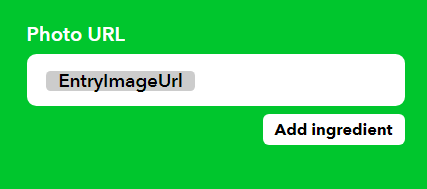
「Add ingredient」ボタンで設定できる変数を追加可能です。
PhotoURLはブログの通知だとうまく動かないので、設定を削除して空白にしました。
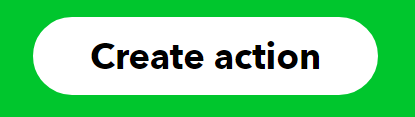
Create actionをクリックします。
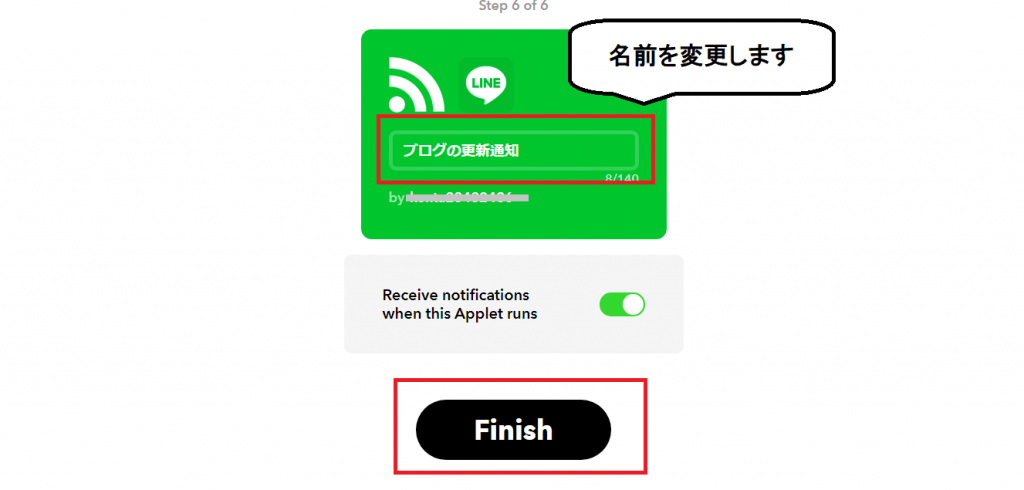
最終画面で、この処理の名前を変更可能です。変更後「Finish」をクリックします。
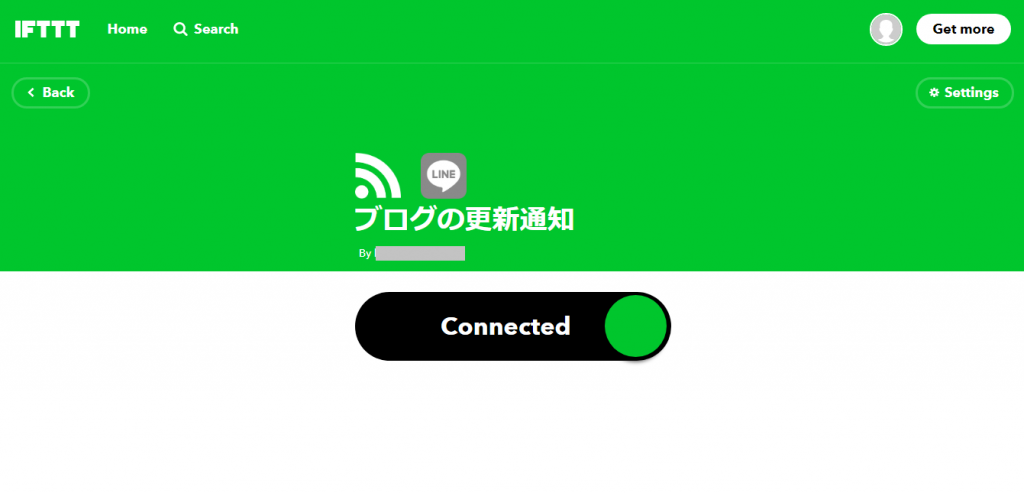
これで設定は完了です。
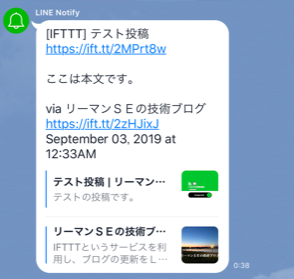
ブログに投稿をするとこんな風に通知を受取れます。